Sweet & Spicy Green Beans

We’ve all been there. You’re in a mad dash to finish dinner and you reach in the freezer and grab a bag of microwave steamable veggies. You pop them in the microwave and nuke for 6 minutes, cut them open (and burn your hand on the steam), toss them in a bowl and sprinkle them with salt and serve them to your family. They’re great when you’re in a hurry to get (healthy) food on the table but…. where is the flavor? The texture is rubbery and the taste has a familiar hint of plastic. Today I’m sharing with you my favorite recipe for sprucing up that bag of green beans you have in your fridge or freezer. Plus, you can use this recipe for just about any kind of veggie you have on hand in your fridge.

Sweet & Spicy Green Beans

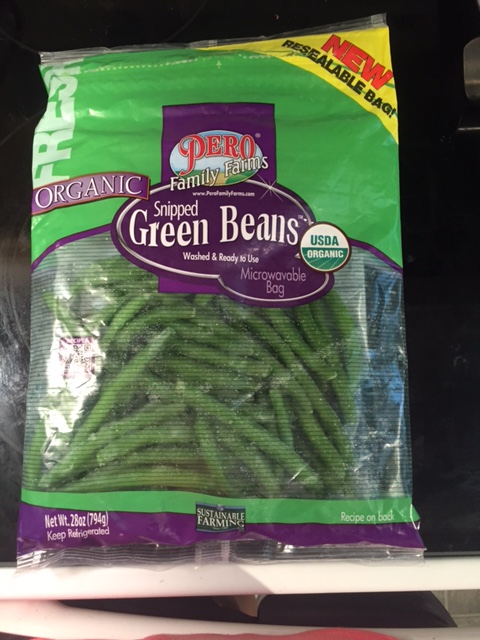
Let’s start with the green beans. Any kind will do but my favorite fresh green beans are Pero Family Farm’s organic green beans. They sell these at most grocery stores now and I’ve found them at Publix, SAMs and even The Pig! They’re already washed and snipped, so you waste no time prepping the green beans for cooking. What a plus!

image1

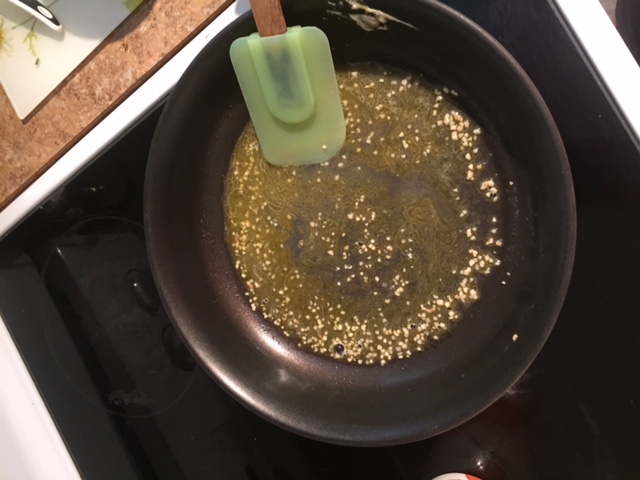
Next, grab your ole’ trusty skillet and turn on the stove to medium-high heat. Add your butter and let it melt, then add your garlic and stir. Cook until your garlic becomes fragrant and your skillet should look something like this…

image4

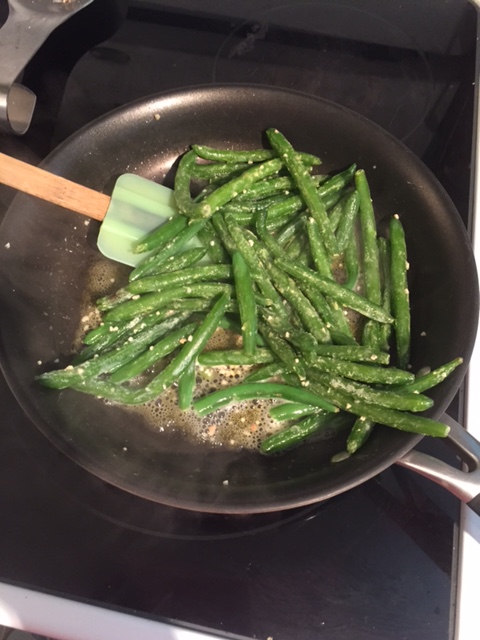
Toss in your green beans and give them a good coat in that buttery goodness! Let them cook for a couple of minutes so they can begin to soak up some of the butter-garlic flavor.

image5

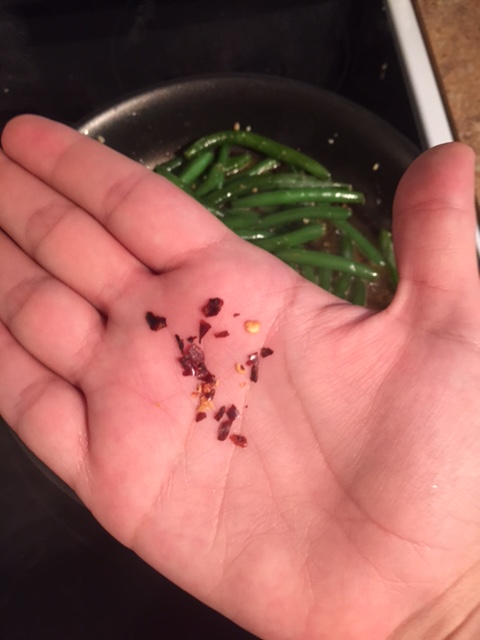
After your green beans have had a nice butter bath, add the soy sauce and crushed red pepper flakes. Remember a little goes a long way when it comes to the flakes. Here’s about how much I add just for a little bit of kick.

image6

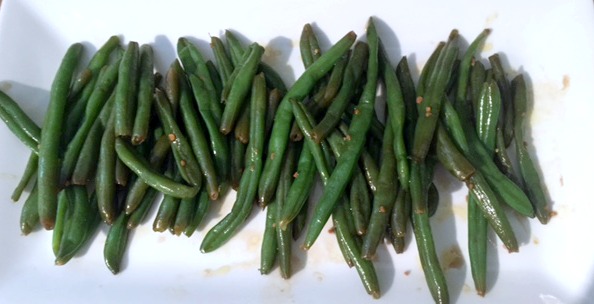
Close the lid, turn your beans down to medium-low heat and let your green beans simmer away for about 10 minutes. Use your digression as to how long your beans cook. If you like a crunchier green bean, cook for 8-10 minutes and remove from heat immediately to keep that crunchy texture you like. If you like your beans a little softer, cook for 10-15 minutes or until the beans reach the softness you prefer. After you’ve reached your desired green bean preference, remove from heat, plate, and serve immediately! Delish!

image9

Sweet & Spicy Green Beans

Prep time: 0 Minutes

Cook Time: 15 Minutes

Ingredients

  • 1 bag of fresh or frozen green beans
  • 1-2 tablespoons of butter
  • 2 tablespoons of soy sauce
  • 2 tsp of garlic
  • 2 tsp honey
  • A pinch of red pepper flakes (As much or as little as you like)
  • Salt & Pepper to taste

Instructions

  1. Place butter in a medium size skillet on medium-high heat. Once the butter has melted, add the garlic and cook until fragrant (about 1 minute).
  2. Add the bag of green beans to the skillet stirring them to ensure they get a good coat of the garlic-butter mixture. Let the green beans cook for about 2 minutes.
  3. Next add the soy sauce and the red pepper flakes. Stir well and cover the skillet with a lid. Cook the green beans for about 10 minutes. Stir occasionally and make sure that the skillet doesn’t run out of liquid. If the skillet looks dry, add a tablespoon of water.
  4. When the green beans look like they’ve softened (to your liking), add the honey and stir. Then add salt and pepper to taste.
  5. Remove from skillet and serve!

Here We go! 

I’m finally going to be able to share my first recipe with you guys today! Will is in a great mood and he’s entertaining himself for the moment so I’ve taken the opportunity to begin work on the blog! 

Today has been a busy Monday for me as I have had cheerleading practice at the school and a haircut downtown all before noon. Plus this meant carting Will to and from Ryan’s mother’s house and venturing to the store for some last minute groceries for the week. With that being said, I needed to prepare something quick and simple for lunch before Ryan got home to eat. 

Another requirement for today’s meal was for it to be mostly paleo. Ryan and I have decided in an attempt to lose some weight and just feel better, we’re going to try and fast processed foods. Believe me, I’m not thrilled about the idea of not eating bread, pasta or cheese but I’m willing to give it a try if it’ll help me lose weight. I’m also hoping for an added bonus of less migraines as we begin this adventure. So, this week we’ve decided to begin the weaning process and also to try to get all of the processed and non-paleo foods out of the house so that next week we can really say we’re eating a truly paleo diet. 

So, as I was brainstorming ideas for a quick, healthy paleo-ish lunch I thought about an Asian Chicken Salad. Bingo. That’s what I’ll make! I donned this recipe as my….

 Ten Minute Asian Chicken Salad


Ingredients: 

For the dressing: 

  • 1/4 cup honey 
  • 1/2 cup soy sauce 
  • 1/4 cup rice wine vinegar 
  • 2 tbsp sesame seed oil
  • 1 tbsp virgin olive oil 
  • 1 tbsp granulated sugar 
  • 2 tbsp toasted sesame seeds

For the salad: 

  • 2 Cooked chicken breast (cut into strips) 
  • 3 cups Baby spinach 
  • 1/2 a bag of Coleslaw mix 
  • 1/2 cup Edamame (shelled and cooked)
  • 1/4 cup Slivered Almonds 

Directions: 

  1. Grab all of your ingredients for the dressing. Put them in a salad dressing shaker bottle (I love my OXO Shaker) Combine and shake. 
  2. Chop your spinach in to smaller pieces and throw it in a large bowl, then add the coleslaw mix and toss. Add as much or as little as you like. (I like a crunchy salad so I sometimes add more!)
  3. Toss the edamame and slivered almonds into the bowl, then drizzle in your dressing. Again, use as much or as little as you prefer. 
  4. Divvy up your salad mixture into bowls and place your cooked chicken on top. 
  5. Serve and enjoy! 

I love this salad because it’s super quick and it’s delicious. Let me know what you think! 

Another Day, Another Meal

For months now I’ve debated on starting this blog and today I’ve finally convinced myself to just do it! So, starting soon, I’ll be posting healthy, kosher, and obviously DELICIOUS recipes.

My inspiration behind starting a food blog has a lot to do with a diet/lifestyle decision that my husband and I made about two years ago. As we were praying and earnestly seeking the heart of God, we felt like He was leading us to begin to move towards keeping the dietary requirements found in the Bible (Leviticus 11). For those of you not familiar with the “food laws”, this means things like pork, shellfish, some types of fish, and small game such as rabbits and squirrels. 

As we began to walk out these dietary changes, We noticed just how many foods we couldn’t have or that we had to alter. 

Some examples… Hot dogs. Are they all beef? Better read the label. Pepperoni or sausage pizza, made with pork…. We now do chicken pizza. Did you know that Jiffy cornbread is made with pig lard?!? No gumbo, no Cracker Barrel green beans, no loaded mashed potatoes… The list goes on and on! 

Now, I’m not complaining one bit about something that I feel like God has asked me to do. So, the solution? I began to search out ways for Ryan and I to enjoy the foods that we love while still living a Kosher (as the Jews call it) lifestyle. The result? I began to experiment with some healthier and just as delicious alternatives to the non-Kosher foods that we grew up eating. Throughout the last two years I’ve prepared food for both our families and some friends and gotten rave reviews from them all. I’ve always loved to cook but our recent diet change has fueled my passion for fun, healthy, flavorful food and I hope to share that passion (and a few recipes 😊) with you! 

Stay tuned. Deliciousness to come! 

Kasie Wood